
I know I am late to the party as ever, but I wanted to try and increase my knowledge of the Raspberry Pi and Linux so decided to try my hand at 1090 MHz ADBS reception.
I wrote up some initial thoughts in a previous blog, this was my attempt to improve the reception and remote mount the Pi close to the antenna.
The problem with traditional deployment is the antenna and SDR receiver (FlightAware) are mounted some distance apart. High quality coax is needed, and even then the losses at 1090 MHz are high. I calculated 10 m of RG213 would equate to at least 3 dB loss, my antenna would need 25 m or coax to mount it in a convenient location. Factor in connectors and I was looking at a 9 dB loss, close on 90% or my received signal lost in attenuation.
The Pi has WiFi, and previous tests had shown me the range and reception was very good, so the idea of mounting the Pi in a waterproof box close to the antenna was conceived. Its not new, im not the first but this is my process and lessons I learned.
The rule of thumb in a box, is think of a size then double it, its not the pi that causes the issues, that is small.
85 mm x 56 mm in new money.

Its the routing of power, USB, SDR and the coax socket that need some consideration. Cooling may also be an issue, a sealed box could get very warm in the summer without some fan and ventilation.
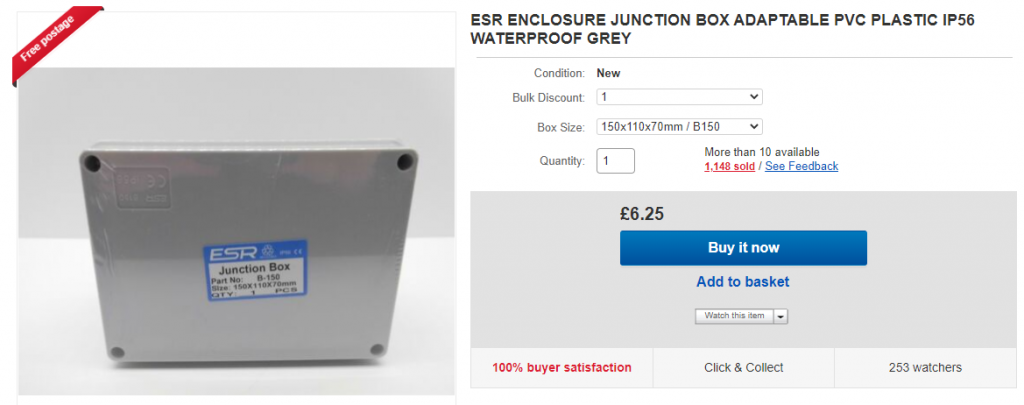
Box options, I selected something marked waterproof and 150 x 110 x 70 mm and it cost £6.25 delivered.

Next was some waterproof sealant, I was going to be drilling holes in the box, and some waterproofing would be required. A tube of Silicon bathroom sealant seemed suitable. I would use this to seal around the power and coax cable entry points. I was going to be drilling all my holes on the bottom of the box, but everything needs to be sealed
The next issue was around the USB ports, I wanted the flexibility to mount the Flight Aware USB receive in a location of my choice and not be limited to the position of the USB ports.

The short extension cable offered the ability to mount the USB receiver flush to the case, with a hole drilled for the SMA to poke out.
Only suitable for short runs of power cable.
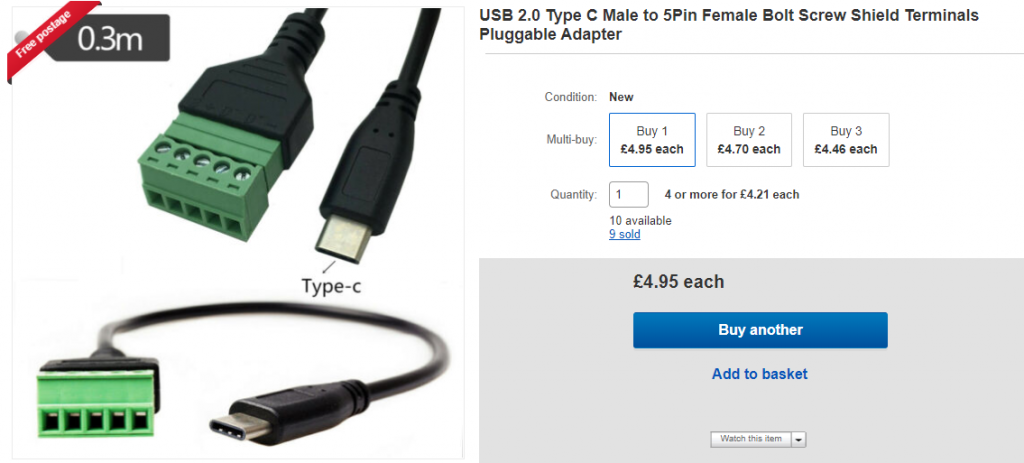
Powering the Pi needed some thought, was I going to connect 5v directly onto the board (this would have been easier) of could I look for some way to wire directly into the USB C connector. In the end this connector cause me a few concerns, it worked exactly as described, but in a tight box it takes up and incredible amount of space. If I could have got a right angled version, this would have made for a much neater installation. They are also quite expensive, but needs must.
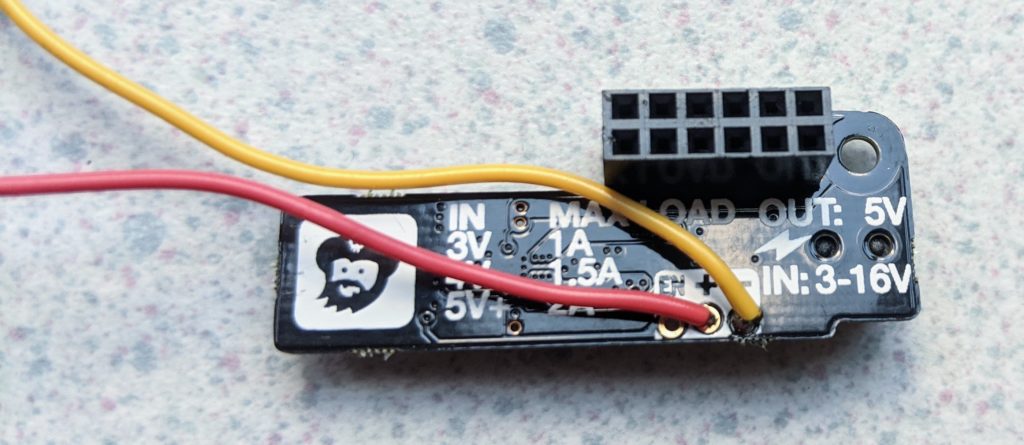
For longer power cable runs voltage drop will become significant, and so I used a DC to DC converter from PIMORONI. They have one detailed on their website as Wide Input voltage SHIM, and you can power it with 3 to 16v
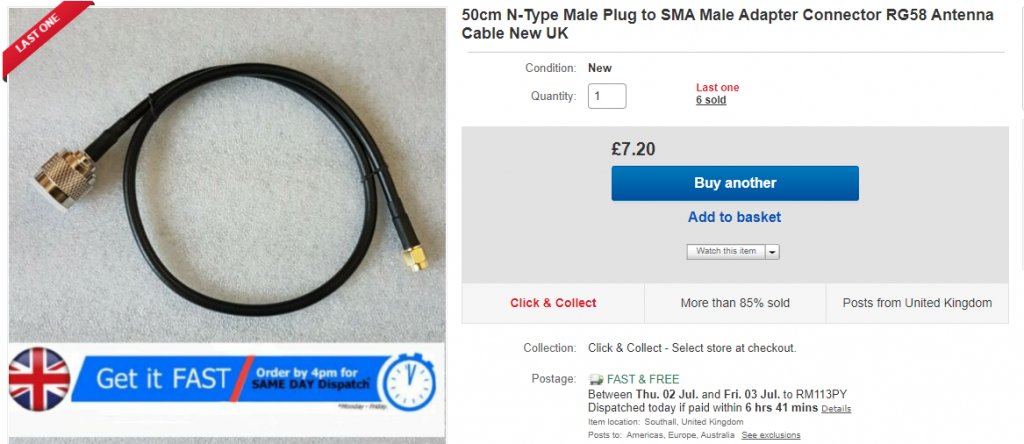
The last piece of the puzzle for me was a coax cable, I wanted N type on one end to connect to the antenna, and SMA on the other for the Flight Aware receiver.
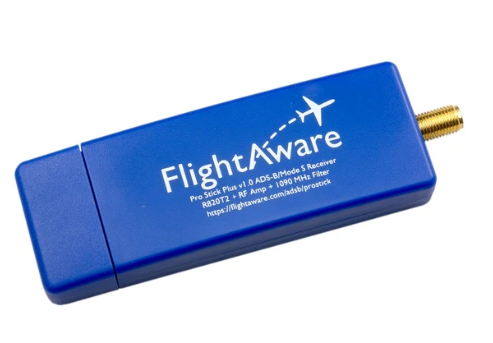
If you wondered why I selected the blue Flight Aware receiver, in the tests I completed the band pass filtering and amplification out performed a standard RTL dongle by 10 to 20% range.
You will need a good 1090 MHz antenna, having something with some gain mounted as high as possible will make all the difference. I opted for a commercial made option, but if you have the equipment you could consider making a co-linear.
Have a look at the antenna options on amazon or ebay.
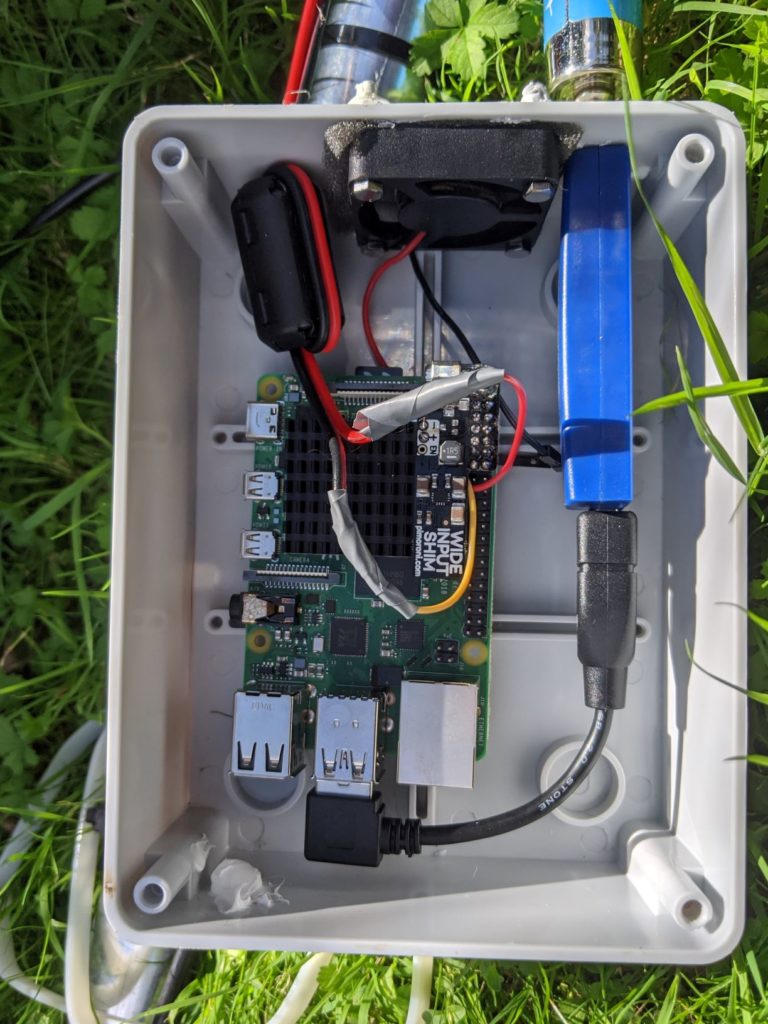
So having gathered all the items together, it was now just a case of positioning them in the box, the flight aware receiver has a long SMA shaft, so the hole can simply be drilled through the box and SMA pushed out. Once the SMA plug with coax is connected you can use a liberal application of silicon sealer to prevent water ingress.
I added a fan into the box, and made sure the Pi had a large heat sink fitted to the processor. The fan isn’t running right now, but this in itself provides a challenge. Not much point adding a fan if it doesn’t extract or force air into the box. I decided to drill 4 x 6 mm holes, and then as it turned out badly align these with the fan. I fitted some foam to the inside of the box, and then bolted the fan down, sandwiching the foam to the inside of the box.

This again was mounted on the bottom of the box, as with every hole, to hopefully prevent water ingress. The other issue is likely to be insect infestation, they like nothing more than a warm dry home high up on a pole!
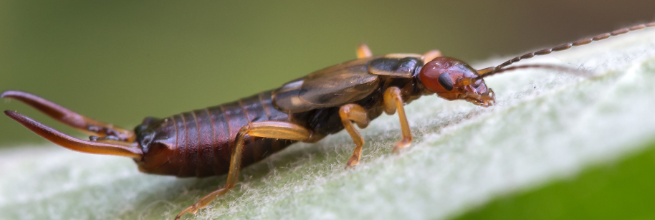
You may want to consider the application of some grease on the pole, its amazing how earwigs can find these warm homes.
Power was the final thing to do, I did try and power it direct from home, but the voltage drop was just too much. I decided to use a DC to DC converter, this allowed me to feed with anything from 3 to 16v.
PoE was considered, but i couldn’t really see the advantage over WiFi and separate power cable.

Under voltage messages would indicate I still have some issues to resolve, but its working.
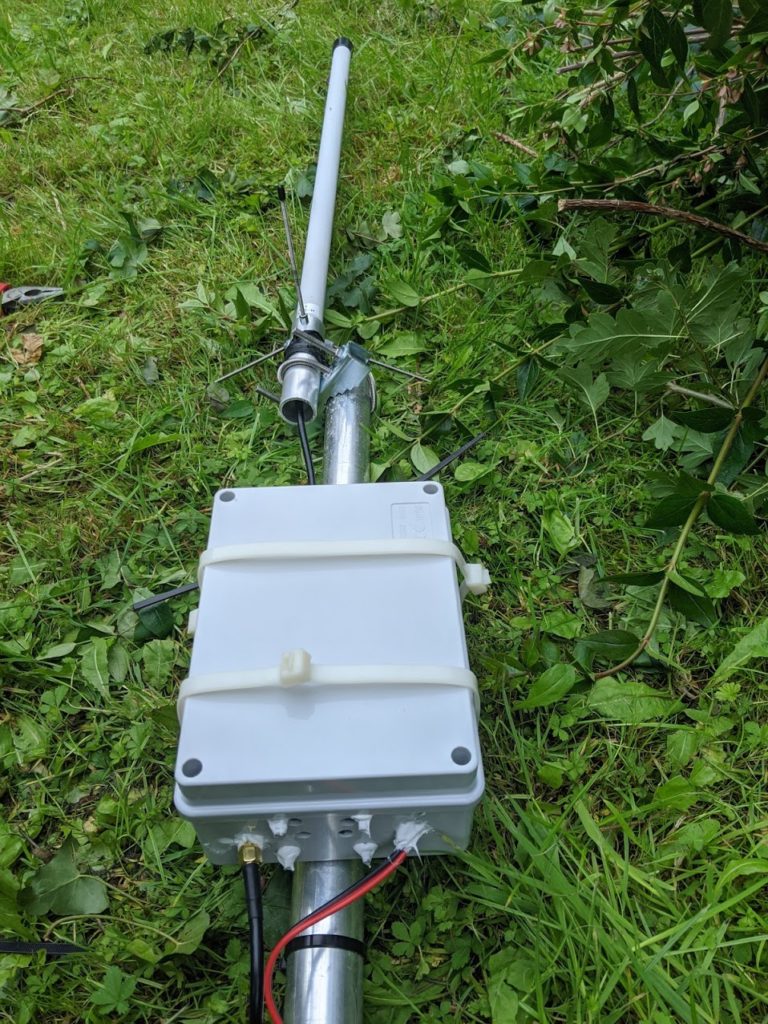
The box on a pole, cable ties used as a temporary fix

You can view my live map here

A timely article – looking to reduce the loss on 10m of RG-213 presently used. I started with e PiAware Pro SDR dongle in June and have been experimenting with coax antennas.
The RPi4 could be replaced with a lesser CPU-powered model like Rpi3(B+) or older. The Amazon reviews warned that the waterproof box selected had very tight screws for initial tightening.
Will the bath sealant be too acidic and attack cables?
Great article!
73
John
All very good questions I dont know at this time.
I have avoided PoE so far, as reports have suggested a high noise level on 2m
I will look at a voltage regulator, I really need to solve the 5V issue the method I have at the moment is not acceptable
but is working.
Dave
What is the antenna you have here?
I use a 5/8 over 5/8 on 1090 MHz. It was purchased from ebay, but this also looks good https://amzn.to/2MbsRA2