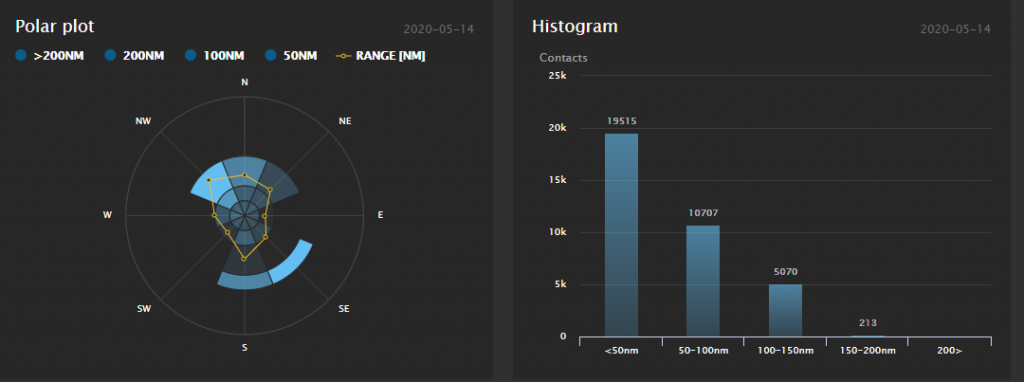
I have been using Flightradar24 for a while and found it very helpful in identifying local air traffic and listening to aircraft approaching and departing London City, Stansted and Heathrow.
I had for some time a Kinetics SBS-1 this was around 10 years old now, and I was looking at a more modern receiver that could link to the internet. I read that you could upload your data to Flightradar and in return, they would provide you with a business account. You can read how Flight Radar 24 collects and displays data on its website.
The best option for me was to look towards a FlightAware USB stick and to run the unit 24×7 from a Raspberry Pi. The Pie Hut even provide an SD card with Flightware already installed.

You can read more about the FlightAware USB on the RTL SDR website. The comparisons I completed with the Kinetics SBS1 and the FlightAware showed the aware was 10 to 20% better at distant reception. This could be a combination of its filtering and amplification. You can read more about the advantages and choices on the RTL website.

I opted to download the software and follow the instructions on the FlighRadar24 site. This take you through the options of downloading the Pi24 Image for your SD card, and then how to write that image to your SD card.
For me that all worked, up until the last stage, I setup my WiFi in the “wpa_supplicant.conf” file on the SD card and then just expect everything to work. It wasn’t quite like that, and for me I need to SSH into my PI to configure the software. Not being a regular Pi user, I needed some instructions.
The most comprehensive I could find was located here. These steps took a while to follow, but my system was never going to work without following the steps outlined. I could see from my wireless router the local IP address and port number, and worked out I could ssh by bring up a terminal window and typing
ssh pi@192.168.0.21
Or what ever IP address you PI is located. Once that was completed I needed to log into my FlightRadar24 and data started to upload the account was upgraded to business. You will need a reasonable antenna, I have described that process in this article. Coax length and antenna choice and positioning is a major issue with 1090 MHz and the associated losses.
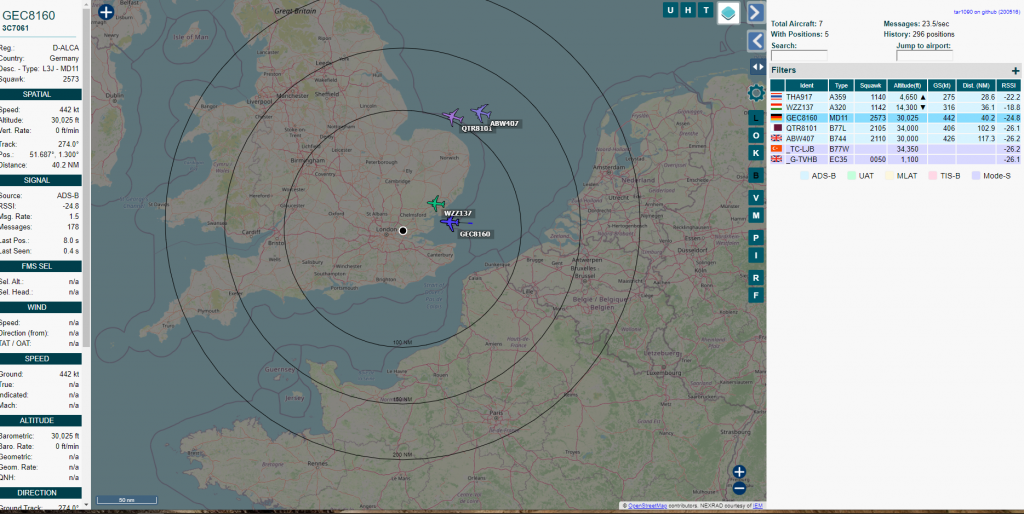
I can now view my data in http://192.168.x.xx/dump1090/gmap.html from a machine on my network and review my statistics on the FlightRadar24 website


Problems and updates
I found when looking at the local dump1090 page http://192.168.x.xx/dump1090/gmap.html I wasn’t able to display the aircraft distance. It turns out this needed to be configured, and by visiting your FR feed setting http://192.168.x.xx:8754/settings.html you may need to update the process arguments to read –lat xx.xxxx –lon yy.yyyy

The next update was to the dump1090 program, this can be updated to an alternative version that includes some neat features.

Purchase options.
External 1090 MHz antenna provides a much-improved range
The Raspberry Pi4 provides an ideal platform for your FlightAware
The Flight Aware receiver is both cheap and high performance

The stock antenna with the RTL dongle is too long and will require cutting down. 68 mm is the required length, and you can use some snips to reduce its size. This will improve reception, but an external antenna will provide the best results.
